Beginner’s Guide to HDR
Well, you’ve done cheap Macro photos in the last post, so it’s time to try this madfangled HDR thingy you’ve seen everyone doing.
HDR (High Dynamic Range photography) is taking a photo at low, medium and high exposure and blending them together to get the best results. You know how when you get a decent holiday sunset photo and the beach is just a black smear under the gorgeous sky, or you see all the details of the sands with a white sky? That’s what HDR kicks to the kerb. Check out this slightly exaggerated example to see what I mean.

HDR tries to get around the limitations of traditional photography to present images in the same way as the eye sees them. When you look at a sunset, you see the sky and the beach equally as clearly.
You can see the HDR photos on my Flickr page. As you can see, the more I do them, the less outrageous they become.
What you’ll need is a camera that does bracketing (more about this in a minute), a computer and some HDR software. We know you’ve got a computer as this isn’t a dead-tree edition so we’ll get on with the software.
Software
This is dead easy as you have two options and they’re the same on both Mac and Windows PC:
- Photomatix
- Adobe Photoshop and the Photomatix plug-in
Yes, there does indeed seem to be a pattern there. So, go get the demo of Photomatix and get your camera ready.
Camera Settings
Bracketing is the art of taking a photo and having the camera then take a darker one and a lighter one just to make sure you get the right levels of light. I won’t go into too much detail on how to do this as every camera handles it differently so open your manual and look for bracketing in the index. It’ll be there, even on lesser cameras. Oh, if you have ever read any other articles on HDR, they all stress the importance of having a good tripod, but if you don’t have a tripod, don’t worry as this tutorial is to get you past the hurdle of taking your first HDR photo to see if you like it. We’ll not be spending any money on this technique until you’re happy it’s worth buying the software and getting a decent tripod.
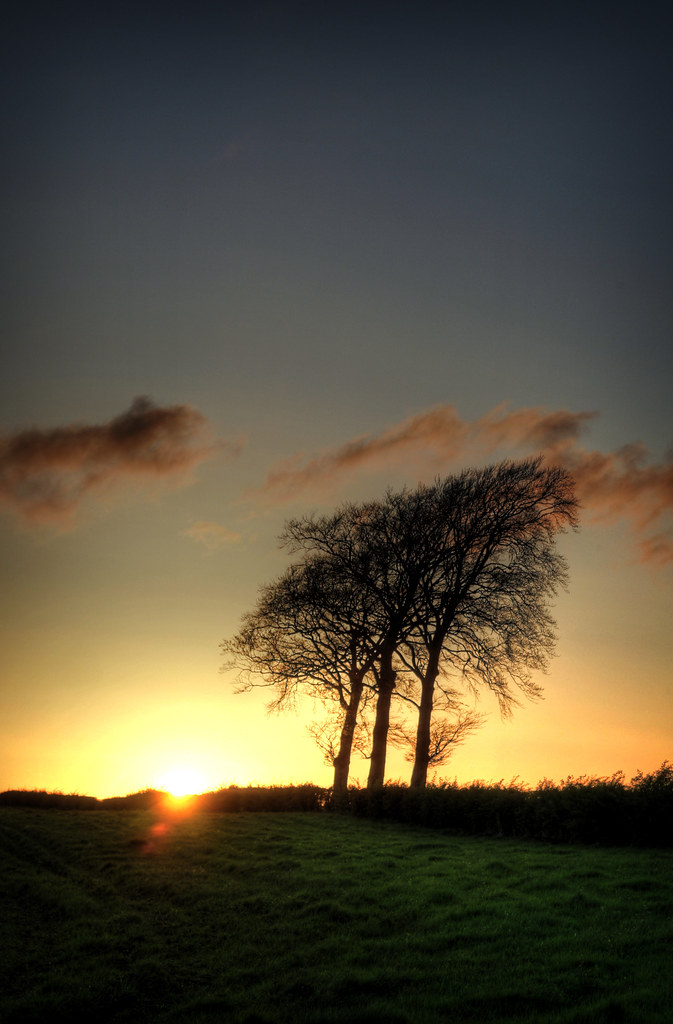
Before you get too bored of all this dry text, here’s the picture I’ll be showing you how to produce:

Taking your first photos
Sunsets, skies and the like. This is what you should learn on. Getting a triptych of a decent sunset or two or should set you in good stead to discover the software, or if you want to take daytime shots, a decent half-cloudy sky should provide all the contrasty goodness you need.

I took three photos, without a tripod, at +2ev, 0ev and -2ev, which is posh-speak for dark, normal and light. You’ve looked up how to do bracketing on your camera by now, right?
See how on the left, you can see amazing cloud patterns in the sky but they’re above an inky blackness, and how on the right, the clearly pictured trees are sitting beneath a flat white sky? Normally, those would get stickers stuck on them by Boots the Chemist for being craply taken, but, in conjunction with the well-exposed middle photo, they are precisely what we want.
Before I forget, you need to be shooting all three shots with the same aperture settings. Look up “Aperture Priority” in your camera manual. Remember lower numbers (like f2.8) allow quicker shutter speeds but only have a short range of focus (depth of field) whereas higher numbers (f22, for instance) allow much more to remain in focus, but require more light or slower shutter speeds. If light allows it, go for higher aperture numbers, especially if you are using a tripod.
Photomatix
Load up the demo version of Photomatix and click on the Generate HDR Image button and select your three photos like so and click OK.

This will give you the settings as follows. The image alignment feature can make up for our spack-handedness not using a tripod. Click OK and wait for the progress bar to do its thing.

Just click through the next screen by clicking Tone Mapping.

On the next screen, you’ll get loads of options. If the photo looks too weird, click Default and start again. Settings can be saved and loaded.

Play with the settings until you get something that looks good. There are no hard and fast rules, but here’s one setting I find makes a huge difference in picking out detail: the Microcontrast slider.

Once you’re done, you may want to save your settings. However, you will want to press Process (cropped off the bottom of these grabs, I’m afraid) and watch the progress bar march relentlessly from left to right.
Save your picture and post it on the internet somewhere for all to see. Don’t forget, when you look back at your earlier HDR attempts, you may well cringe at how overdone they look. Don’t worry about that just yet. Play with the sliders to your heart’s content and get the outrageous manipulations out of your system.
Here are some examples of my HDR photos:


Please take the time to comment.
Update: Photos now linked to Flickr. Go comment on them there.